
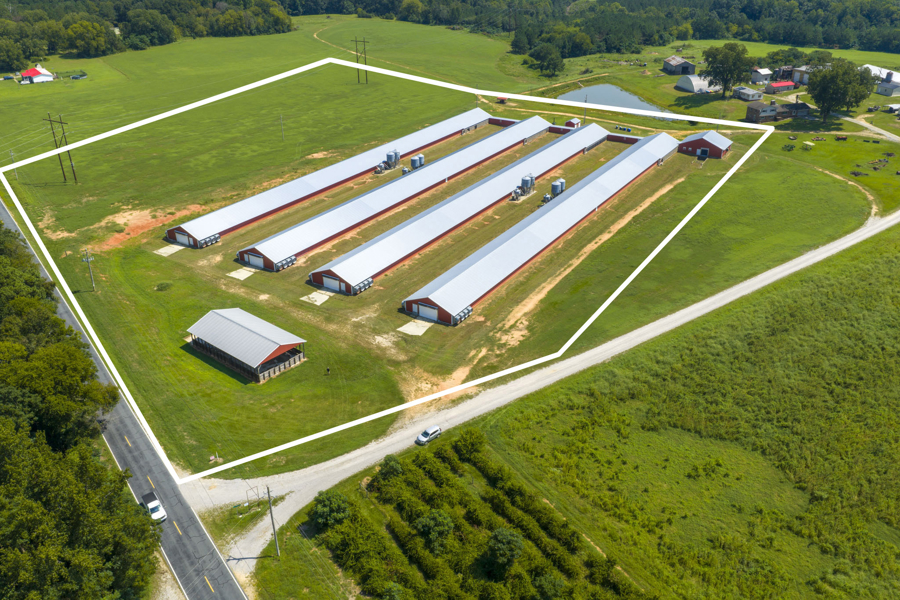
Transitioning Ventilation Systems from Summer Cool-Pads to Fall Minimums: A Step-by-Step Checklist for Carolina Flock Managers
September in the Sandhills and Piedmont regions brings welcome relief from the sweltering heat of mid-summer, but it also introduces one of the most challenging environmental conditions for poultry management: extreme diurnal temperature swings. Warm, sunny Carolina afternoons can quickly turn into crisp, chilly fall nights.
If your ventilation system isn’t properly calibrated for this seasonal transition, daytime heat stress can rapidly give way to nighttime chilling, drafty conditions, and elevated moisture levels—setting the stage for respiratory issues and poor feed conversion.
Transitioning your ventilation strategy from summer evaporative cooling (cool-pads) to fall minimum ventilation requires a methodical approach. Use this step-by-step checklist to ensure your houses are sealed, tuned, and prepped for cooler Carolina nights.
Step 1: Decommission and Dry Out the Evaporative Cooling System
Before turning off the pumps for the season, proper maintenance prevents mold growth, mineral buildup, and premature pad decay over the winter.
Flush the Water Lines and Sump: Drain the sump tanks completely to remove algae, sediment, and mineral deposits accumulated over summer.
Run Fans to Dry Pads Thoroughly: After draining the water system, run your tunnel fans to pull air through the pads until they are 100% dry. Storing wet pads leads to structural deterioration and fungal growth.
Inspect and Treat Pad Media: Inspect for sagging, clogged flues, or calcium scale. Apply an approved cleaning or descaling solution if necessary before winterizing.
Isolate the System: Turn off power to the cool-pad pumps and close supply valves to prevent freeze damage or accidental triggering during warm autumn afternoons.
Step 2: Seal the Envelope to Eliminate Drafts
Summer ventilation relies on high air speed down the center of the house. Fall minimum ventilation relies on negative pressure to pull fresh air through side-wall inlets, direct it toward the peak of the ceiling, and warm it before it reaches bird level. Air leaks render this process ineffective.
Seal Tunnel Curtains/Doors: Inspect tunnel doors or curtain closures for gaps, tears, or loose seals. Seal perimeter leaks using foam tape, weather stripping, or latches to ensure cold air doesn't leak directly onto floor level.
Inspect Side-Wall Inlets: Ensure every inlet door opens evenly and closes tightly. Lube hinges, adjust cables, and verify that tension springs bring doors completely shut when fans turn off.
Check House Tightness (Static Pressure Test): Close all doors, curtains, and inlets. Run one 48-inch or 52-inch fan and measure static pressure. A tight house should easily pull 0.15 to 0.20 inches of water column (50 Pa). If static pressure is low, locate and seal leaks along sidewalls, end doors, and doghouses.
Step 3: Recalibrate Controller Settings for Minimum Ventilation
As ambient conditions shift, rely on timer-based minimum ventilation rather than temperature-only triggers.
Switch from Temperature-Based to Timer-Based Control: Minimum ventilation must run on a cycle timer (e.g., 60 seconds ON out of a 300-second cycle) to ensure adequate fresh air exchange and moisture removal, even when ambient temperatures fall below target setpoints.
Adjust Static Pressure Targets for Inlets: Ensure side-wall inlets operate at proper static pressure (typically 0.08 to 0.12 inches of water column depending on house width). Proper pressure forces incoming cold air to shoot along the ceiling curve to the center ridge, where heat collects, before dropping down to bird level as warm, tempered air.
Review Nighttime Setpoints: Avoid large temperature offsets between day and night modes. Gradually decrease target temperatures as birds age, but keep nighttime minimums tight enough to prevent the heating system from fighting cold drafts caused by leaking doors.
Step 4: Inspect Heaters and Stir Fans
With cool nights around the corner, brooders and space heaters will start kicking on regularly.
Clean and Test Heaters: Blow out dust, cobwebs, and litter accumulation from burners, igniters, and air intakes. Run test cycles on every unit to verify ignition and check gas pressure.
Verify Stir Fan Operation: Circulation/stir fans are critical in autumn to destratify warm air trapped near the ceiling and push it down to floor level. Ensure fans are clean, blades are balanced, and thermostatic controls are responding correctly.
Step 5: Monitor Litter Moisture and Air Quality Daily
The ultimate test of your fall ventilation setup is floor condition and air quality during early morning checks.
Check Relative Humidity (RH): Aim to maintain indoor RH between 50% and 70%. If RH climbs above 70%, increase minimum ventilation runtime to sweep out excess moisture.
Assess Floor Conditions: Cold air dropping straight to the floor creates damp litter, caked manure, and elevated ammonia levels. If litter along the sidewalls is damp, increase inlet opening pressure or check for air leaks along the wall.
Evaluate Bird Distribution: Walk the house at night. If birds are huddling away from sidewalls or piling under heaters, cold air is dropping too early or draft points remain unsealed.
Ready for the Season Ahead
Taking time in September to execute a thorough ventilation transition protects flock health, reduces fuel costs, and prevents stress during sudden autumn cold fronts. By sealing leaks, servicing cooling pads, and dialing in negative pressure, your houses will be well-prepared to keep birds comfortable and productive through the Carolina fall.